User Guide - Phonecheck 3 | Phonecheck Help Center
This user guide will get you started on downloading, installing, setting up, and begin using Phonecheck 3
Prerequsities
|
Supported Platforms |
Mac (Sonoma, Sequoia, and Tahoe) & Windows (10 & 11) |
|
Supported Printers |
Dymo Wireless Dymo 450 Zebra GK420D/T Brother QL-600 |
|
Supported Languages |
English, Spanish, Japanese, Chinese, French, Portuguese, German, Italian, Korean, Russian |
|
Support Devices |
iOS 9.3.5+ and above:
Android 5.1+ and above:
|
|
Non-Support Devices |
Devices not supported:
|
|
TCP Ports Used |
8081, 8082, 8083, 6379, 1883 |
Download and Install Phonecheck 3 for Mac or Windows
|
Download Phonecheck 3 for Mac (3.12.9a) |
Download Phonecheck 3 for Windows (3.12.9a) |
|
Download Additional Drivers for Mac |
Download Additional Drivers for Windows |
|
How to Install Phonecheck 3 for Mac |
How to Install Phonecheck 3 for Windows |
Create and Assign a Customization Profile to your Phonecheck3 station.
Step 1. Navigate and Login to the Dashboard using your Cloud Portal credentials
Dashboard Website Link: https://dash.phonecheck.com/
Step 2. Navigate over to the "Customizations" Tab and select "Create Profile"

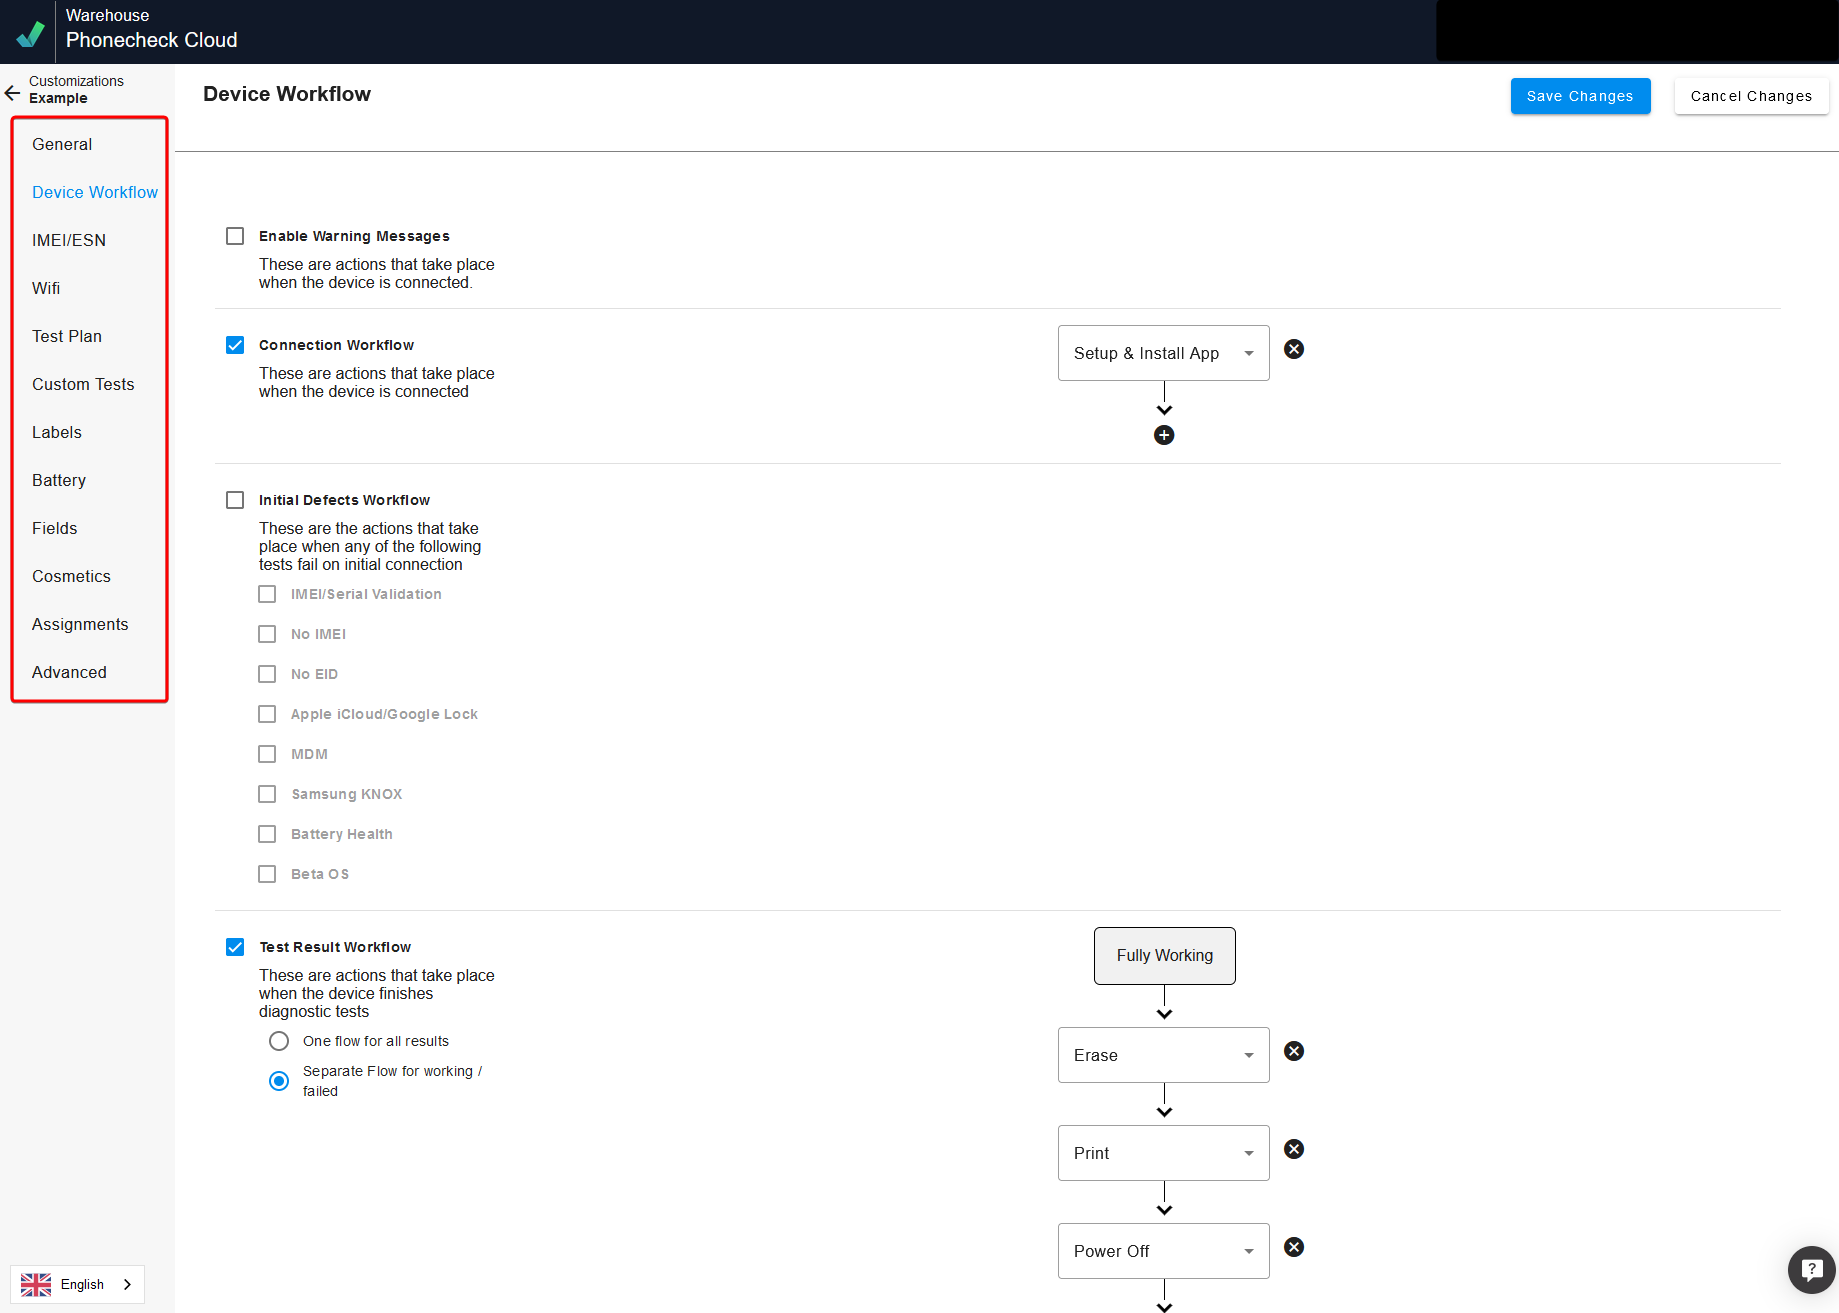
Step 3. Setup Profile as desired (Workflows, ESN/SimLock Checks, WIFI Setup, Test Plan for iOS and Android, Label Wizard, Battery Criteria, Fields, Cosmetics)
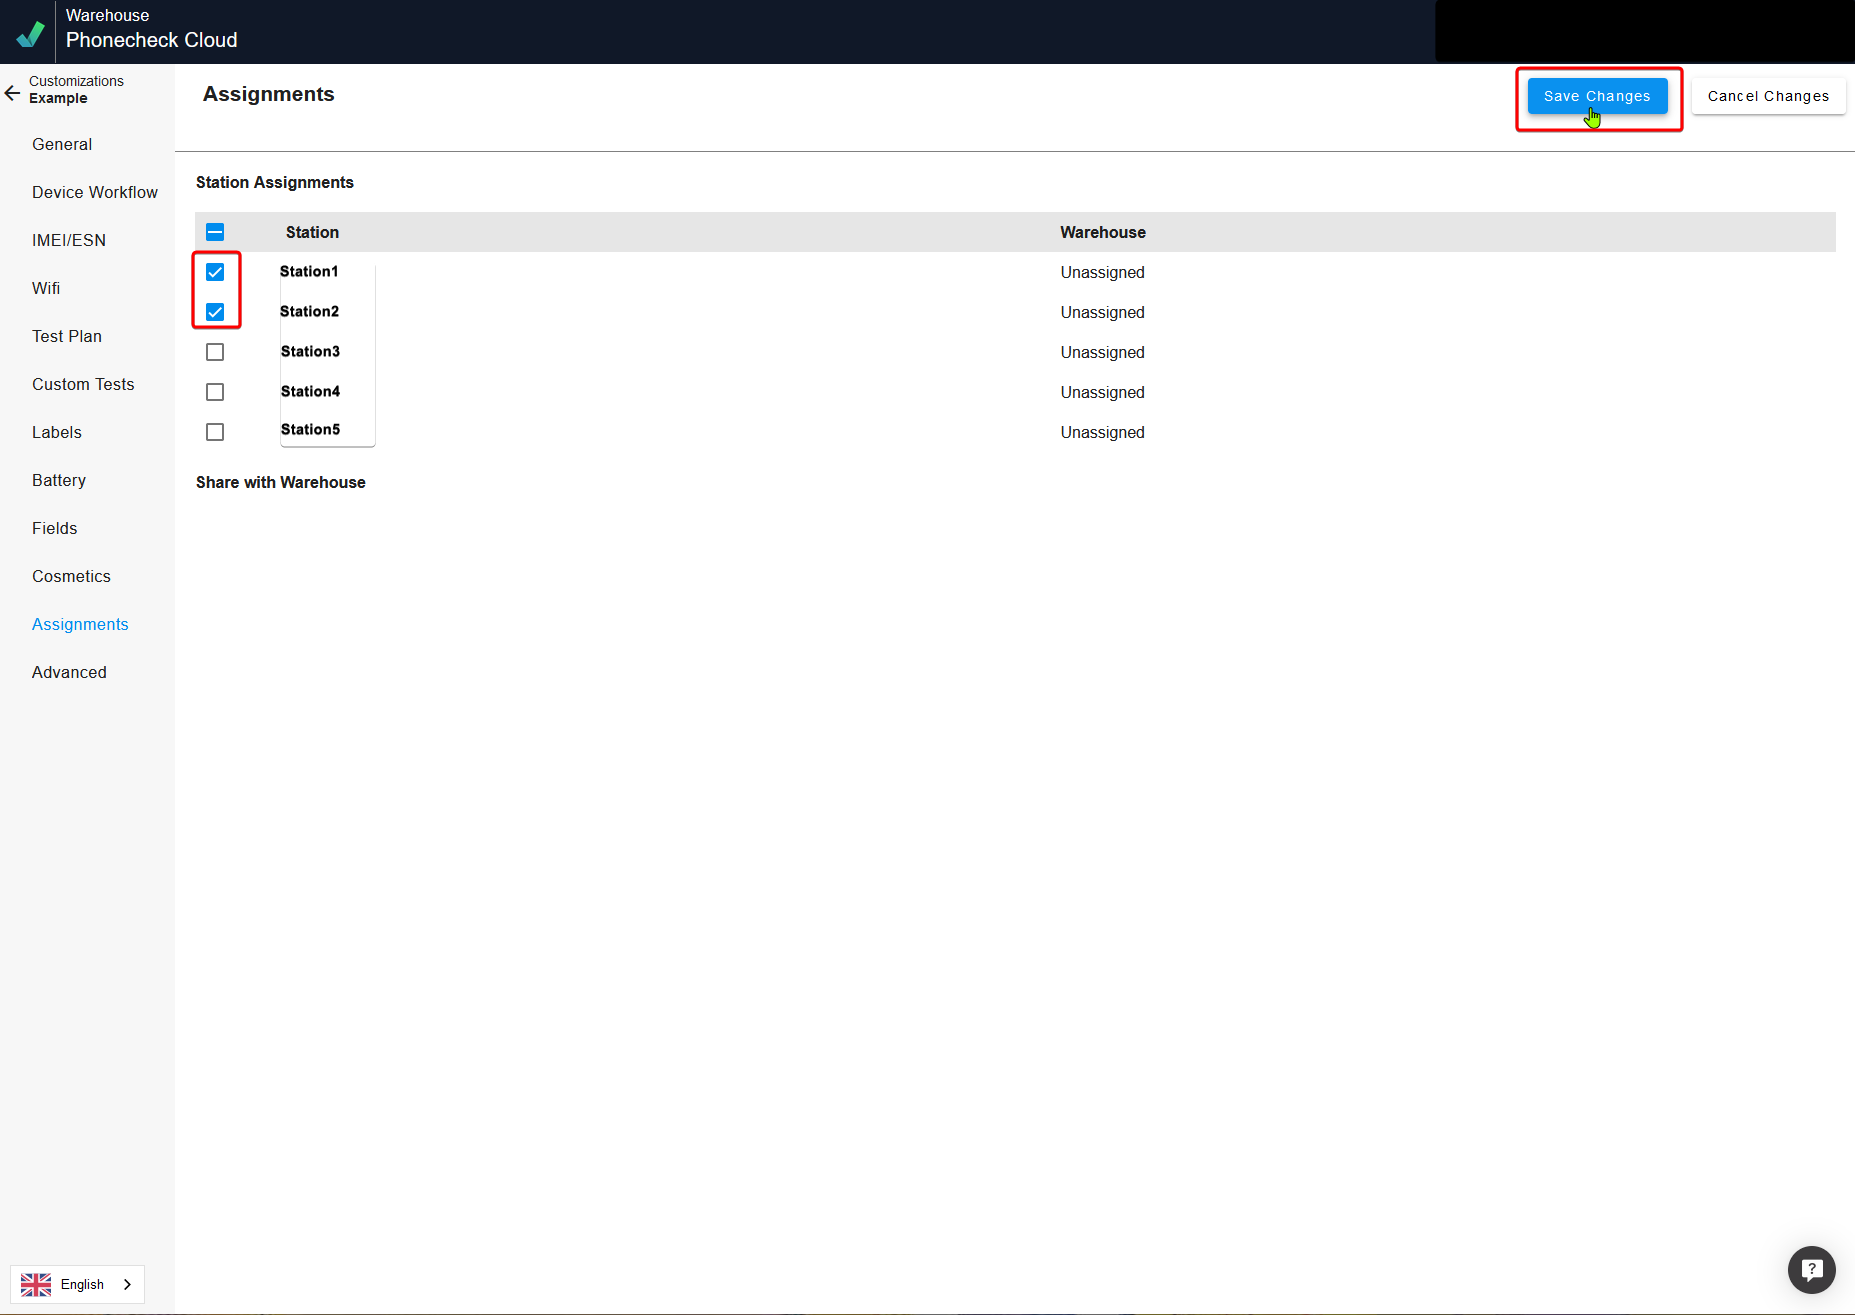
Step 4. Assign Profile to desired stations and select "Save Changes"
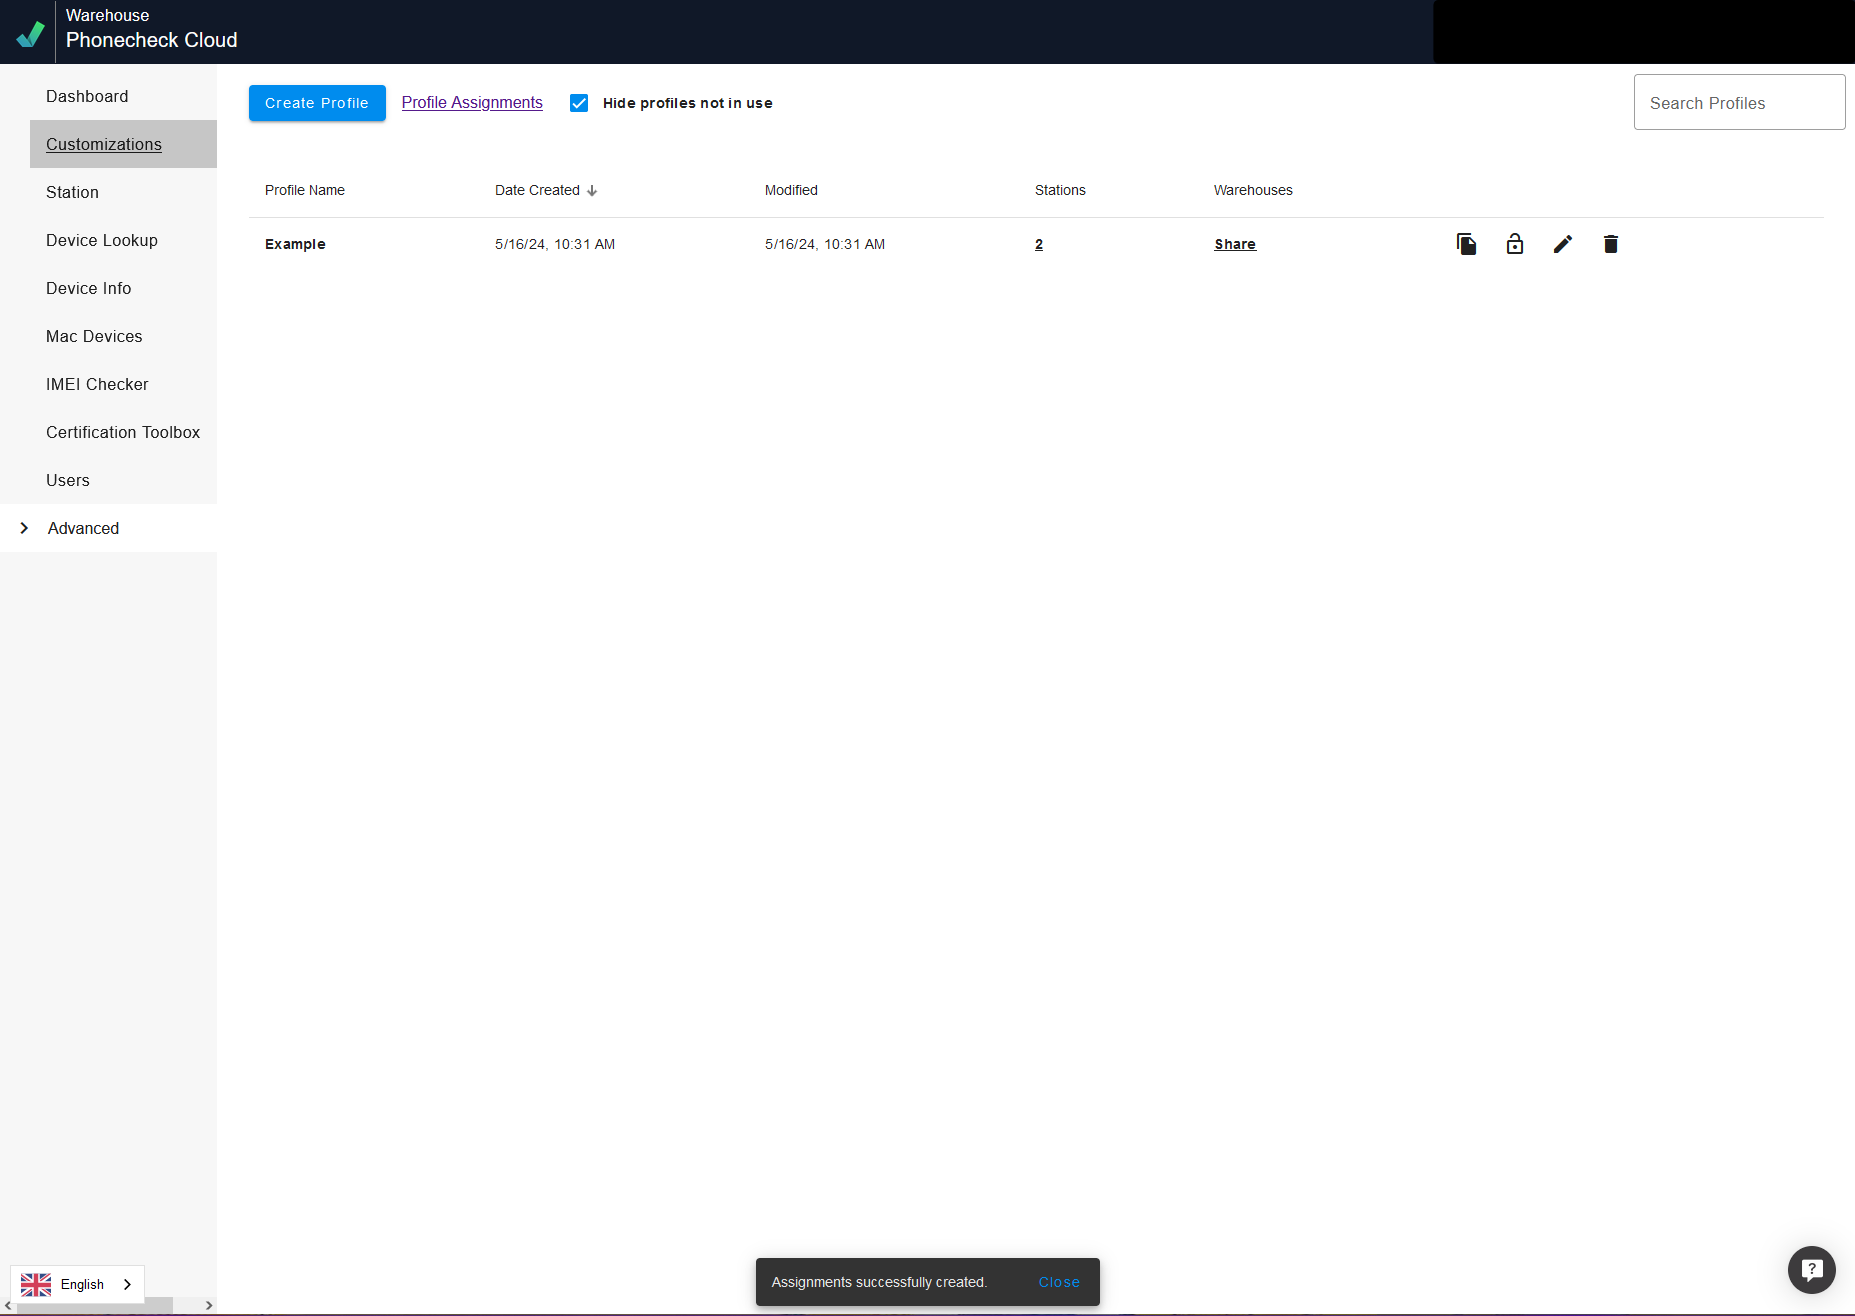
Step 5. Once profiles are created, they can be seen, edited, deleted, and re-assigned in the Customizations tab
How to Begin using Phonecheck 3
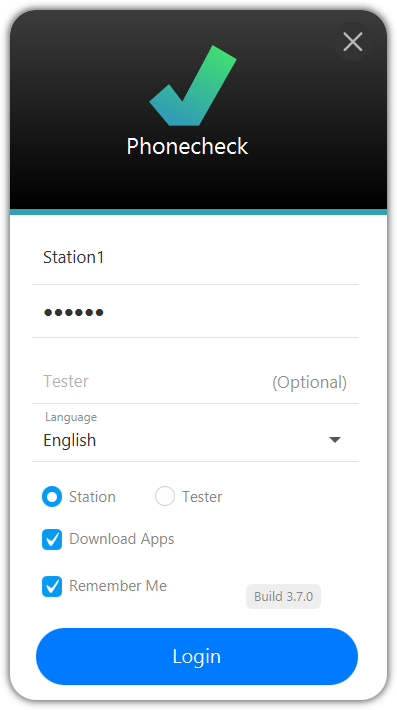
Step 1. Once installed, open Phonecheck3, select the desired language and log in with the Station ID and password.
Step 2. Port-Map Phonecheck 3 if you haven't already
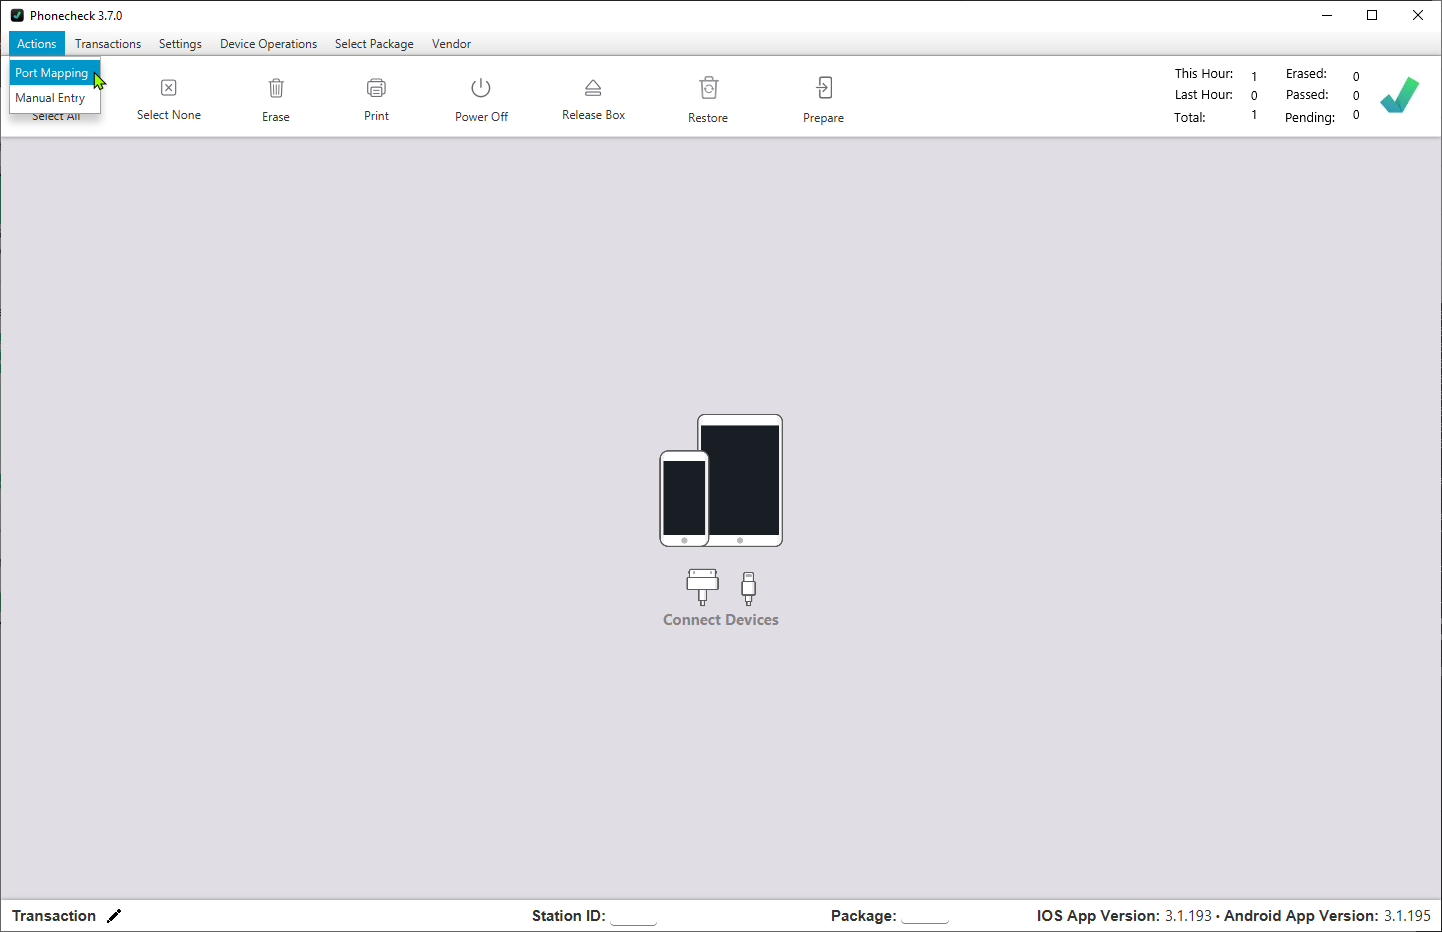
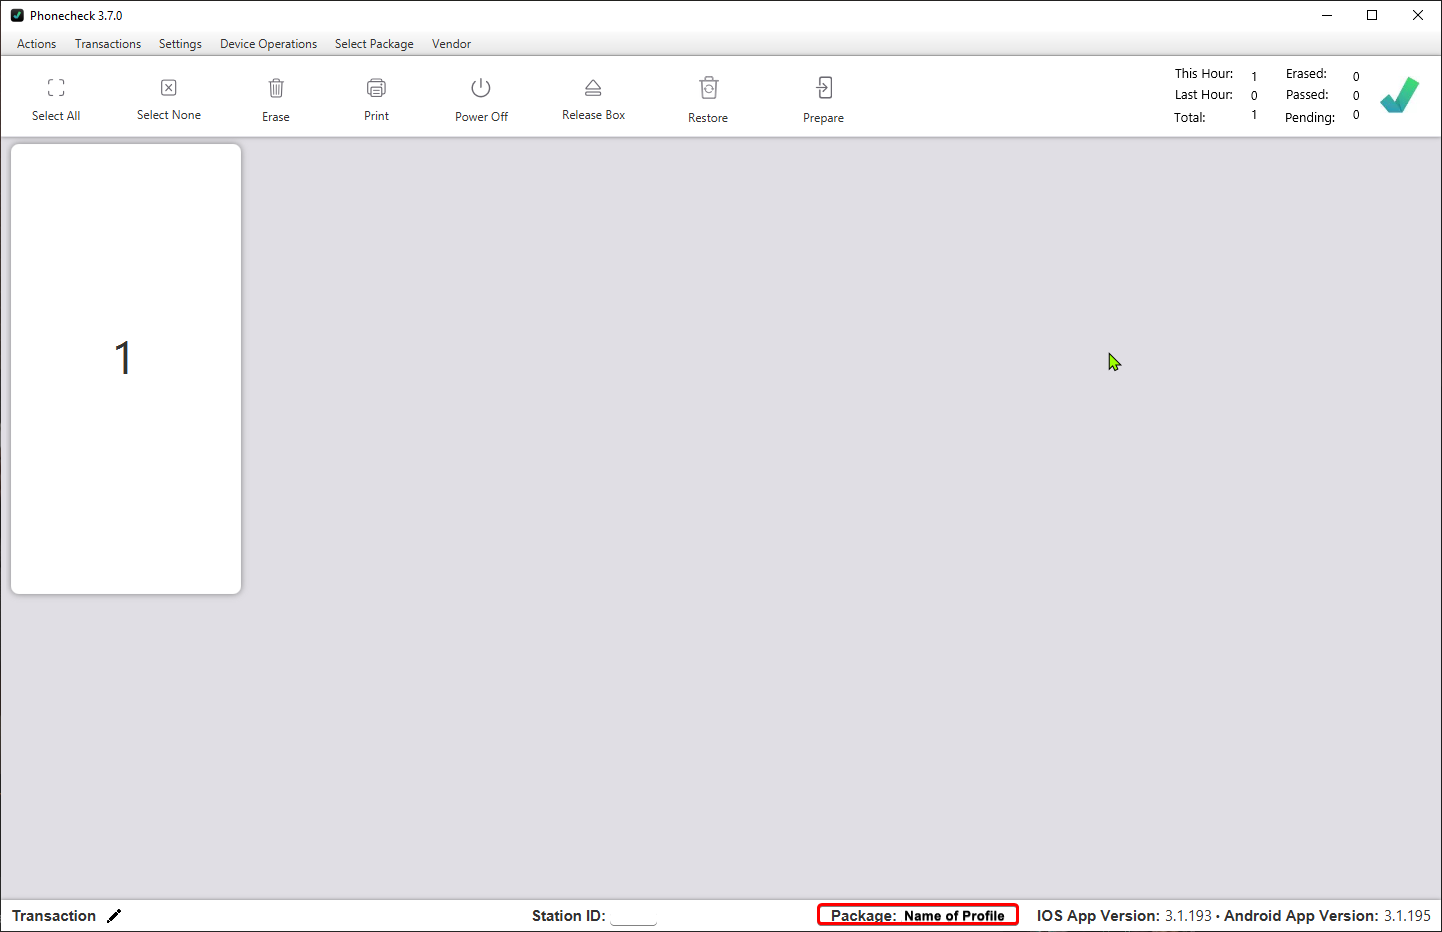
Step 3. Ensure the Station has the correct "Profile" assigned before you start processing.
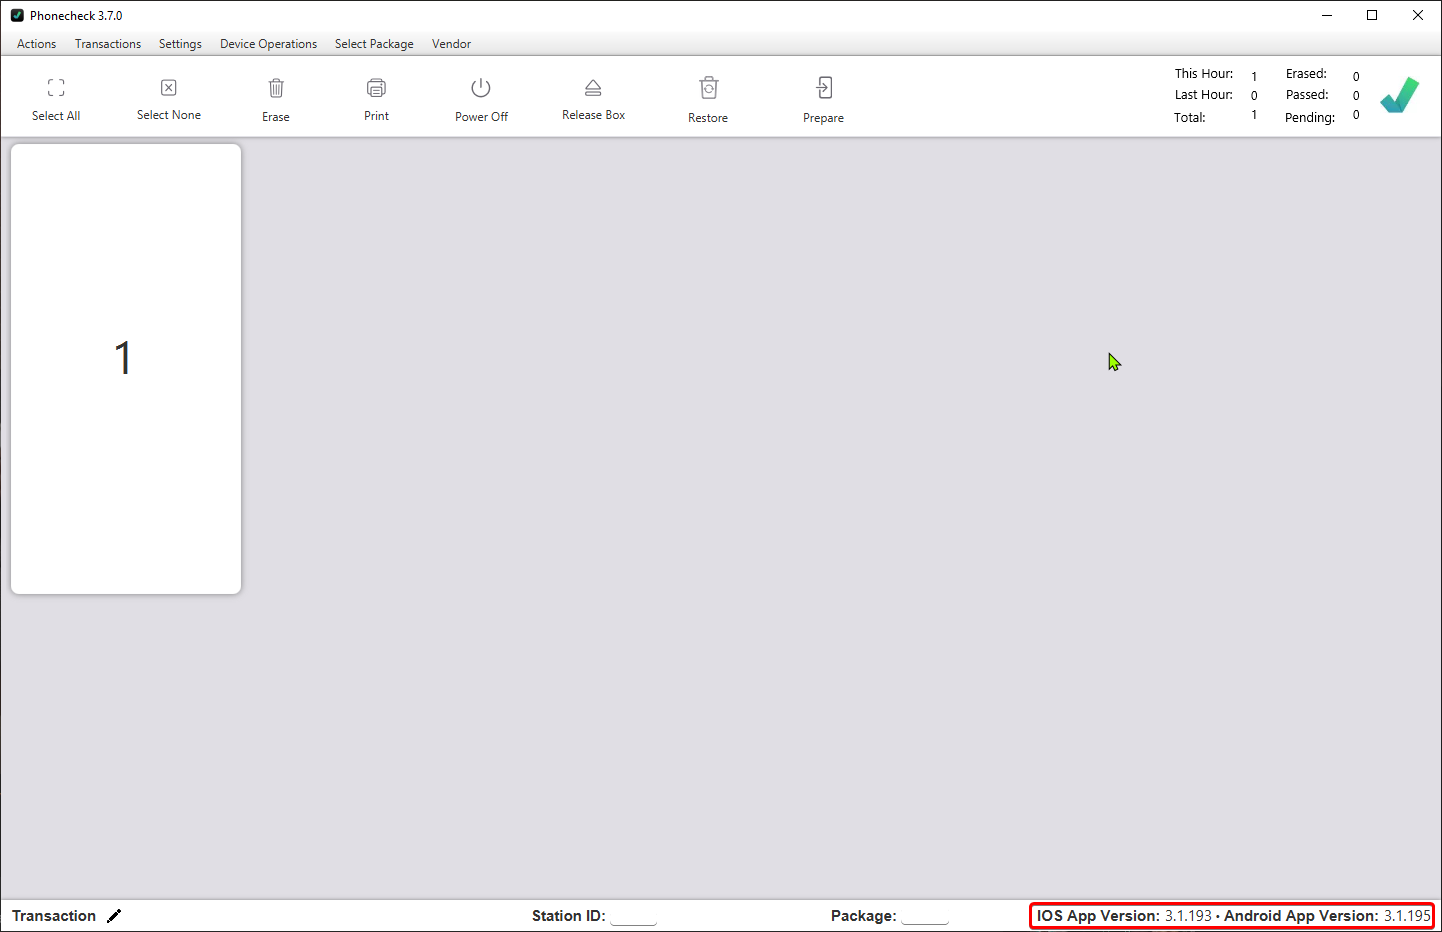
Step 4. Ensure the Station has the correct Mobile Apps assigned before you start processing. (3.1.xxx for iOS and Android)
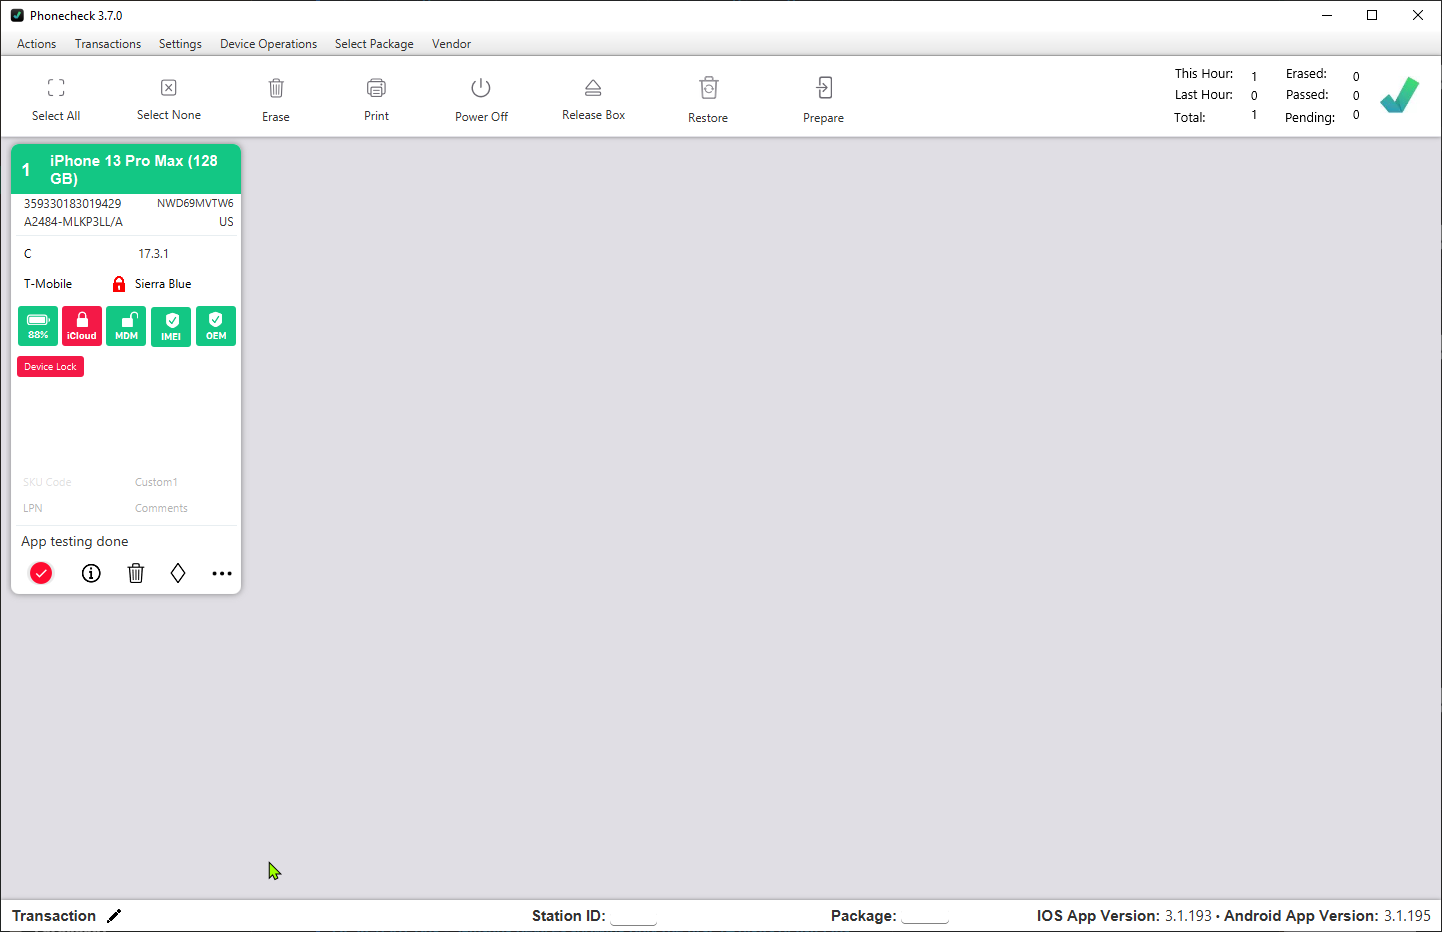
Step 5. Once confirmed, you may begin connecting devices to Phonecheck 3
How to Navigate around Phonecheck 3
Menu Options
The Phonecheck menu tabs are now located at the top of the application for both Mac and Windows.
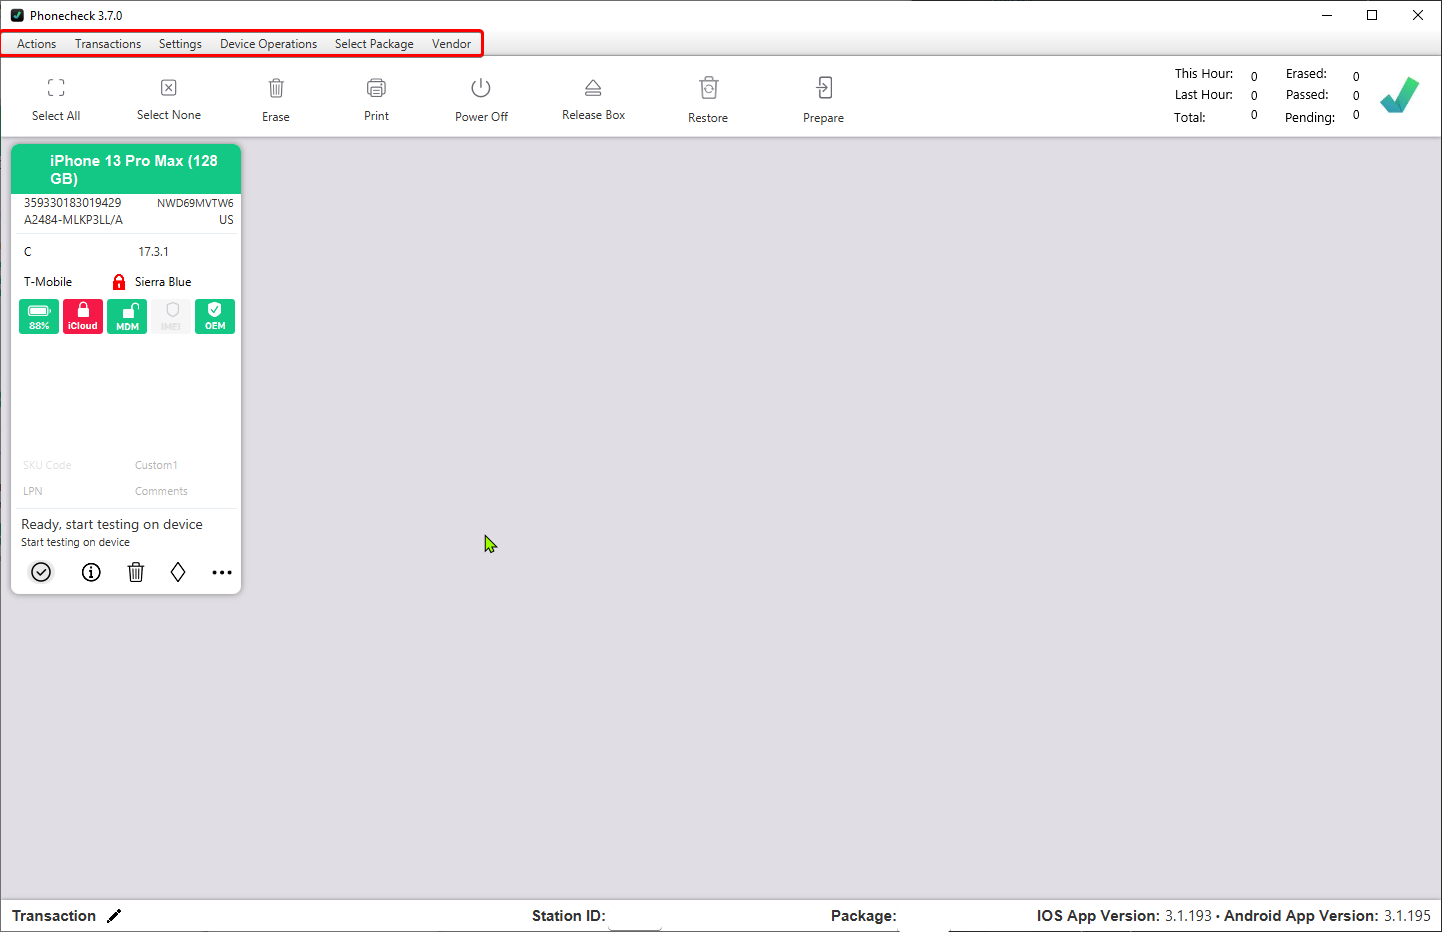
Actions:
-
Port Mapping
-
Manual Entry
Transactions:
-
New Transaction
-
View Transaction
-
Transaction History
Settings:
-
Open Customization
-
Open Cloud Customization
Device Operations:
-
ESN Check
-
ESN Check Blacklist
-
ESN Check ALL
-
Provision QR
-
SimLock
-
CarrierLock
-
Export Logs
-
Push Wi-Fi
-
App Install
-
Remove App & Profiles
Select Package:
(Station ID and Profile need to be assigned to the same Warehouse to appear)
Vendor:
Update Vendor Info (Invoice No and Vendor Information)
Bulk Operations
Bulk Operations are located right below the Menu Tabs.
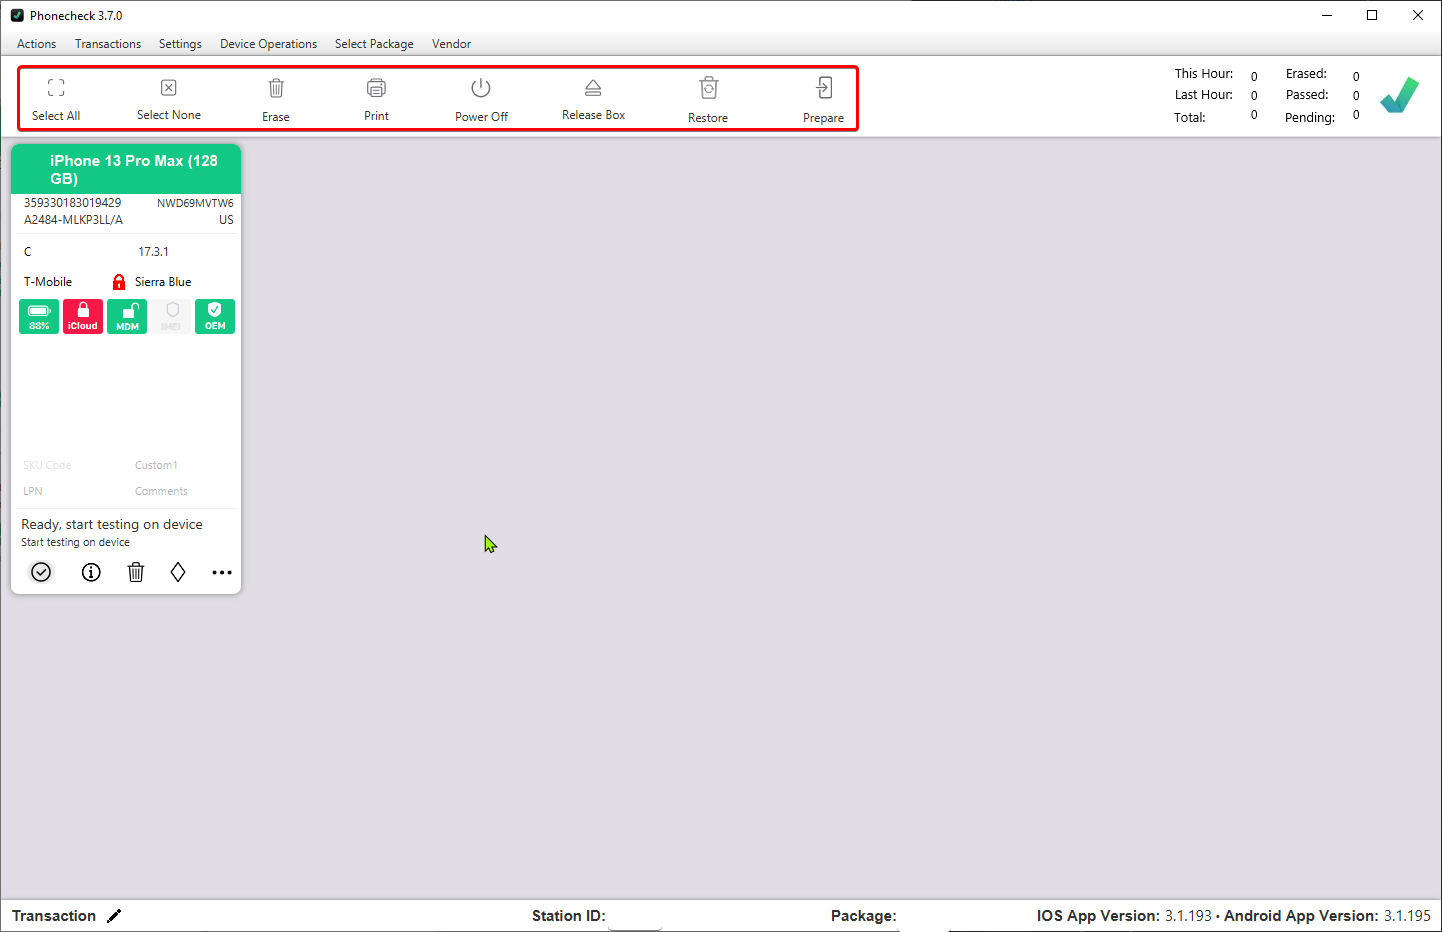
-
Select All
-
Select None
Operations:
-
Erase
-
Print
-
Power Off
-
Release Box
-
Restore
-
Prepare
Device Square Interface
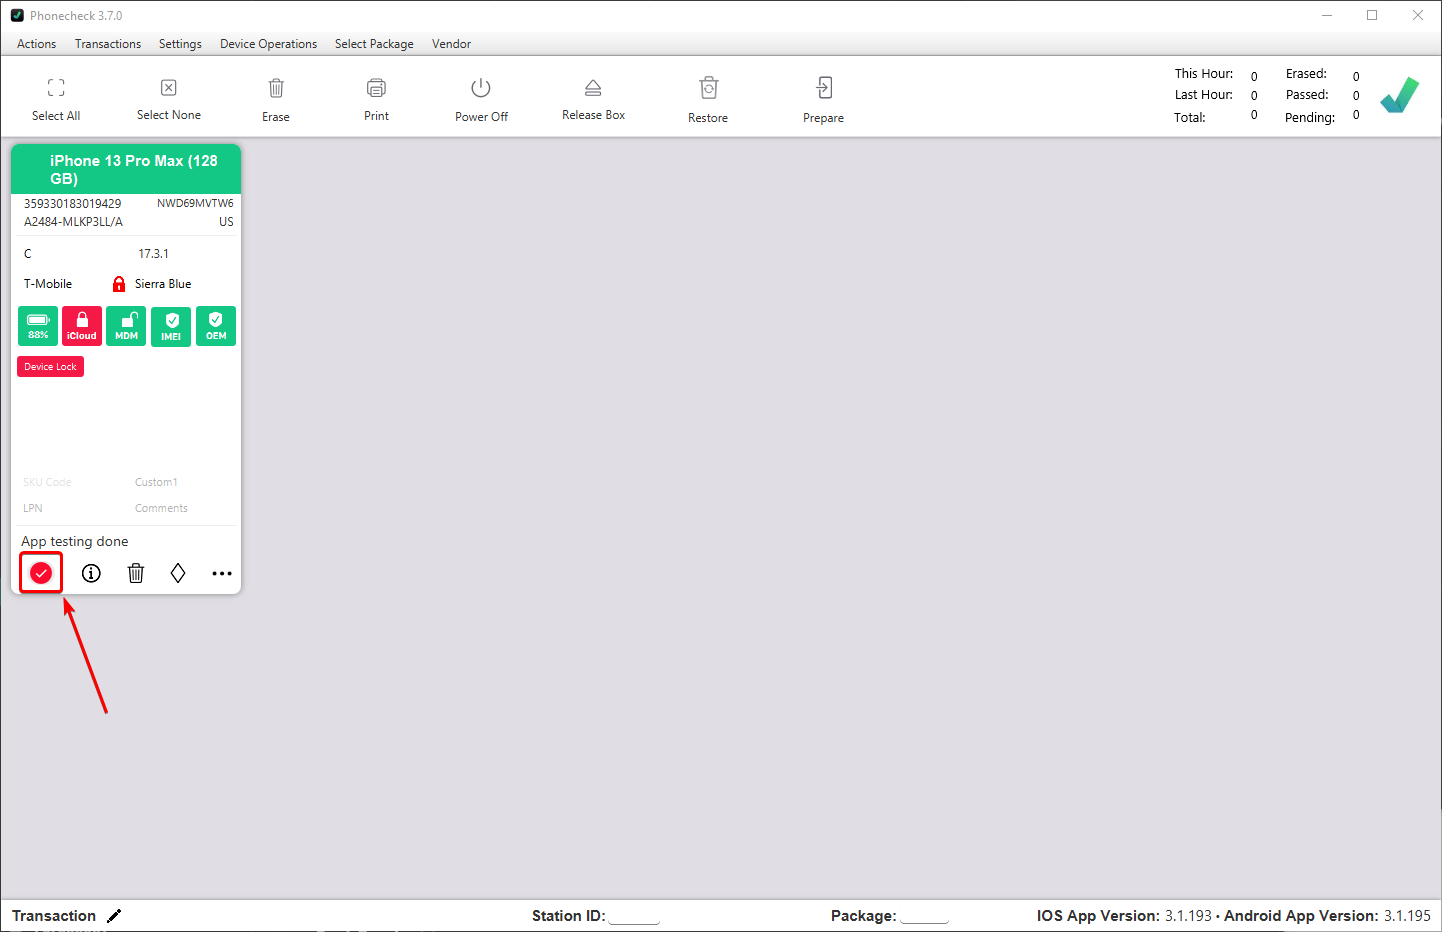
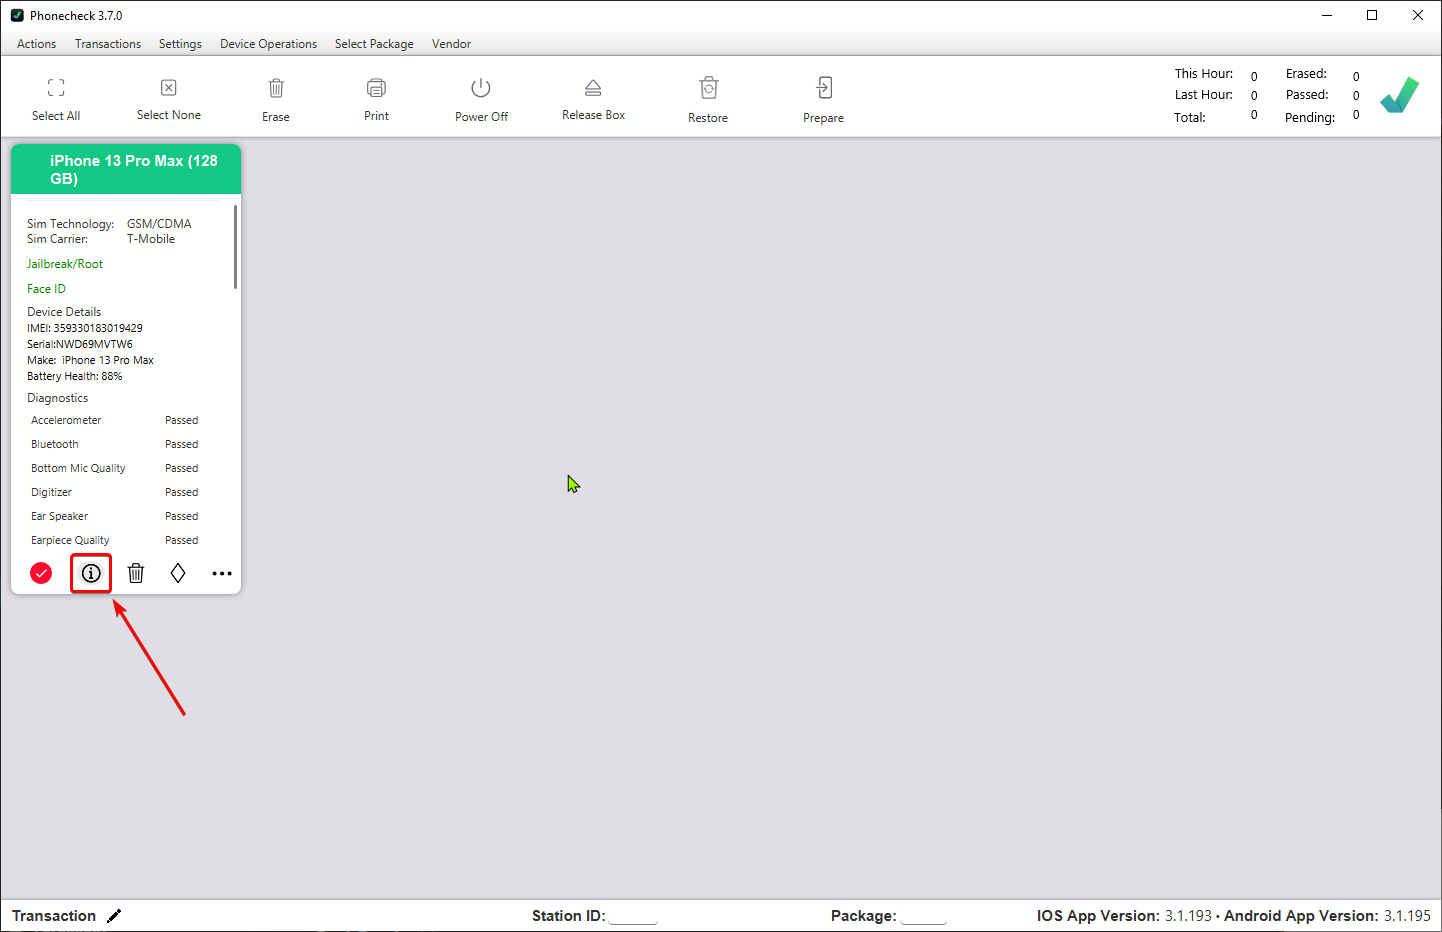
The device square interface consists of a main view, a results view, and a direct operations menu.
Main View
Results View
Direct Device Operations
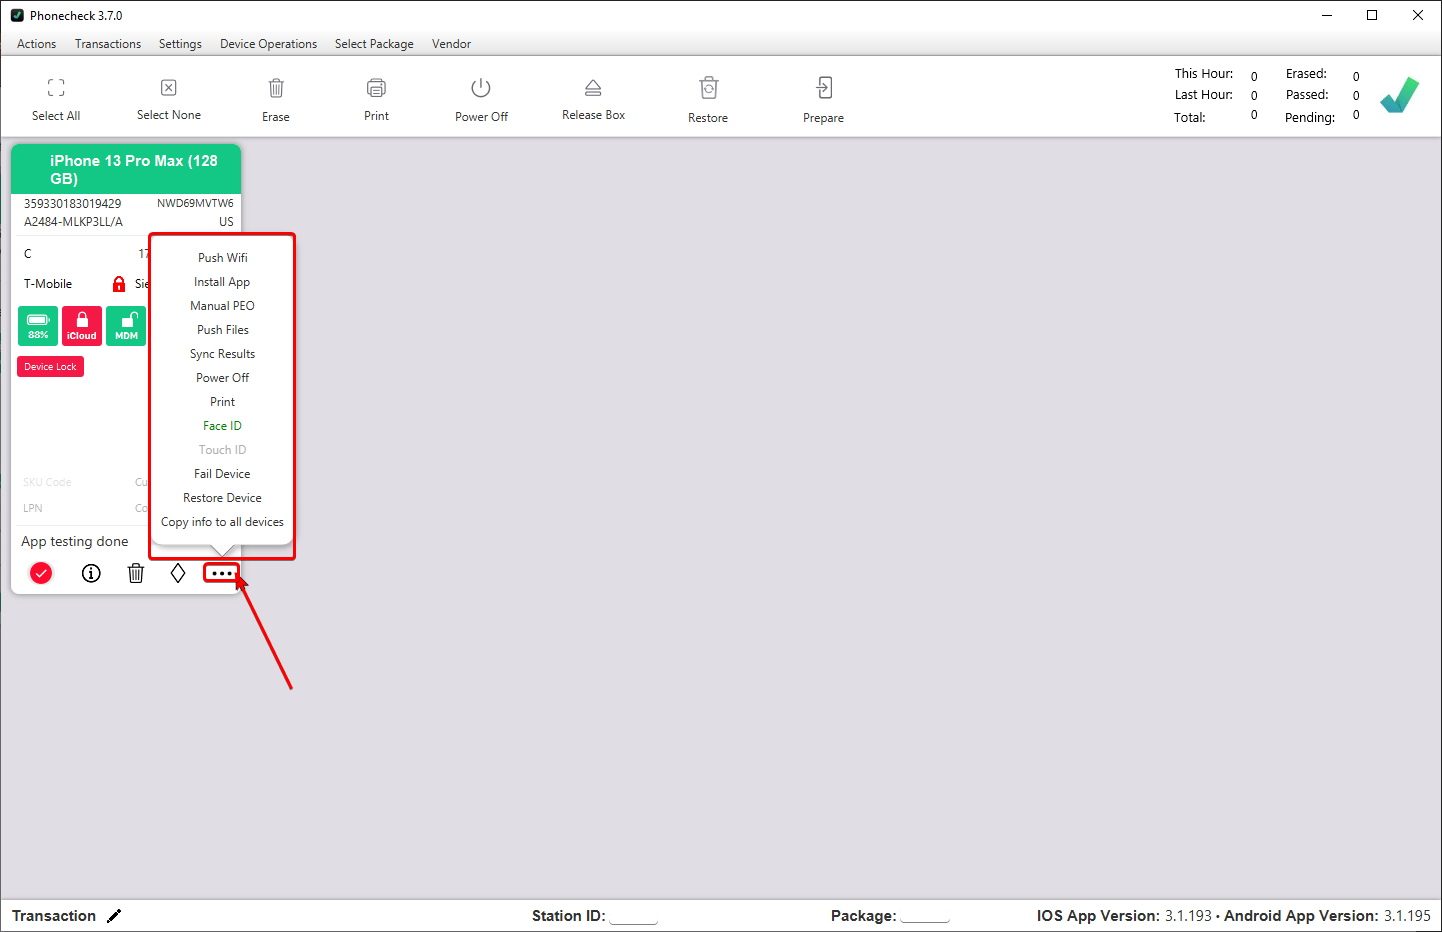
Device Square Breakdown
Breakdown of both the Main View and Results View interface
Main View Breakdown
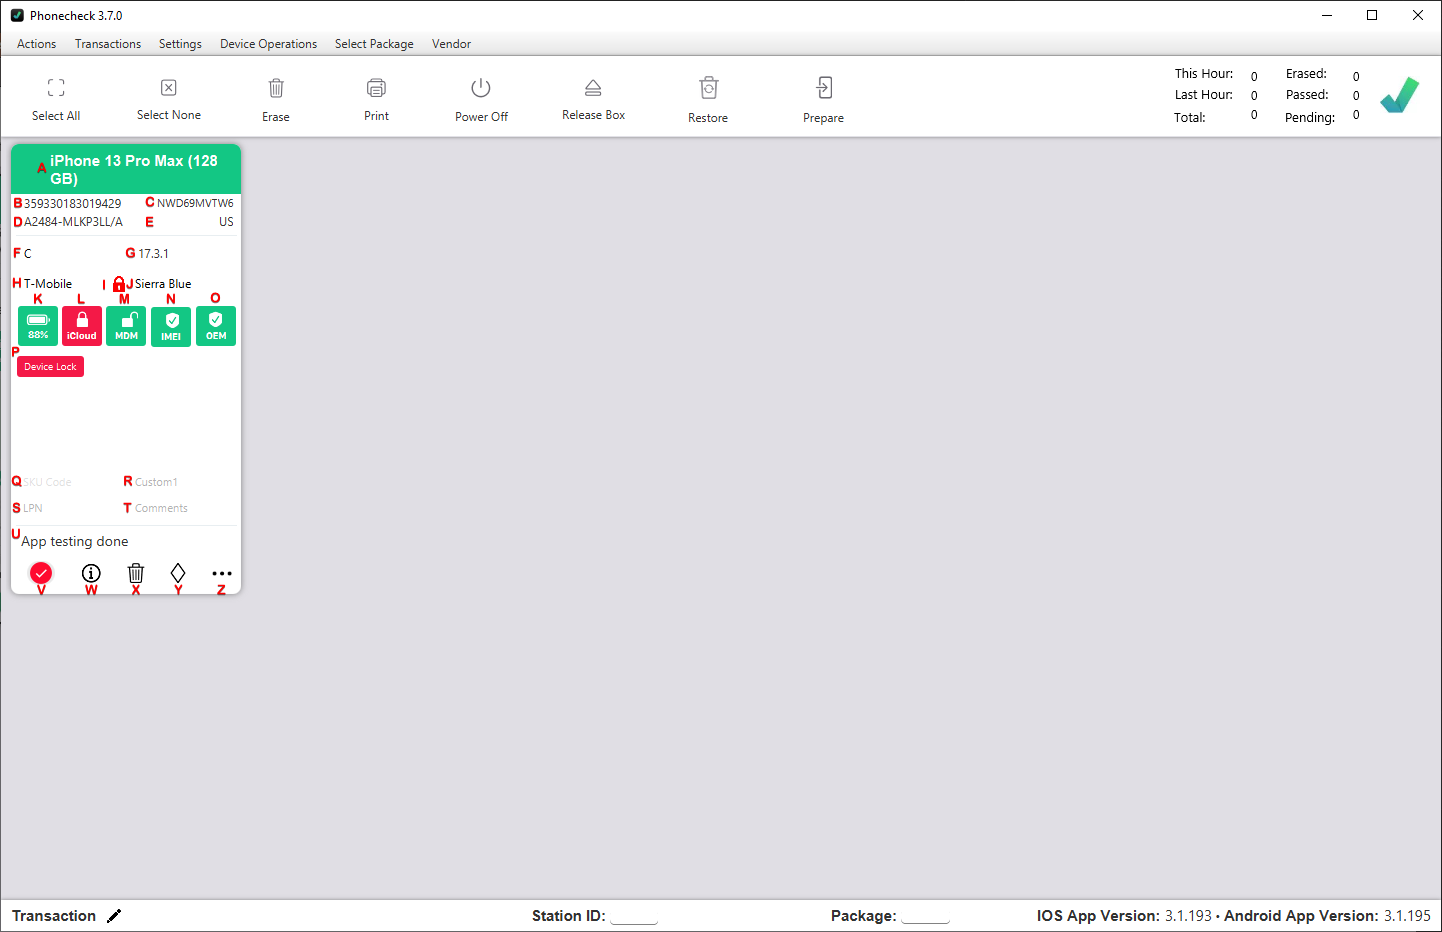
A - Device Title
B - IMEI
C - Serial
D- Model Number(s)
E - Country of Origin
F - Grade
G - Version
H - Carrier
I - SimLock Padlock
J - Color
K - Battery Health
L - FMI/FRP
M - MDM/KNOX
N - ESN Check
O - Apple Parts
P - Diagnostic Results
Q - SKU Code
R - Custom1
S - LPN
T - Comments/Notes
U - Device Status
V - Main View
W - Results View
X - Erase
Y - Cosmetics
Z - Direct Device Operations
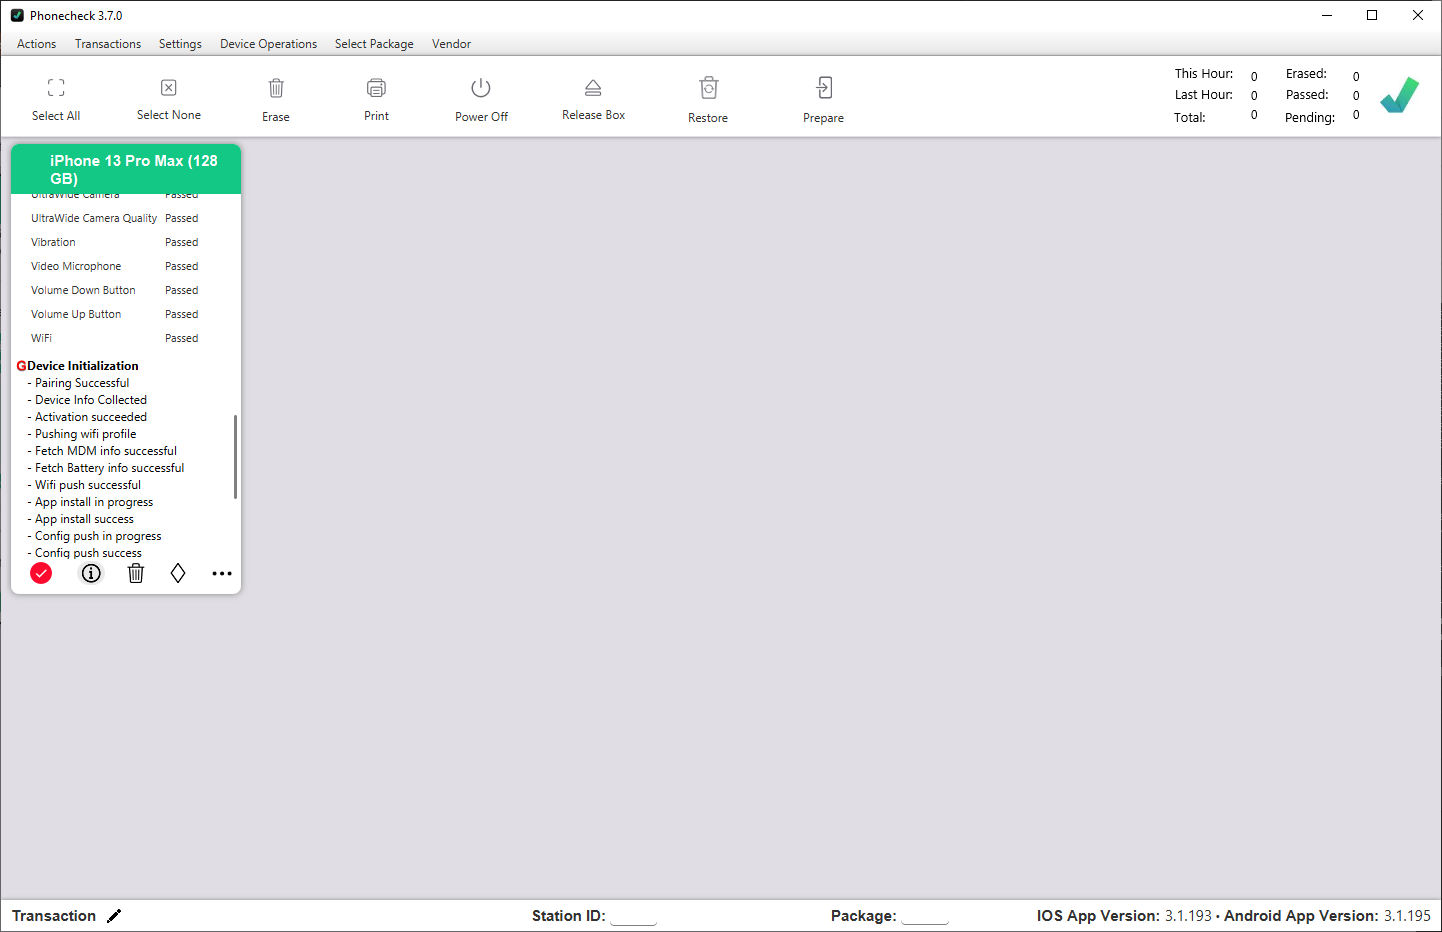
Results View Breakdown
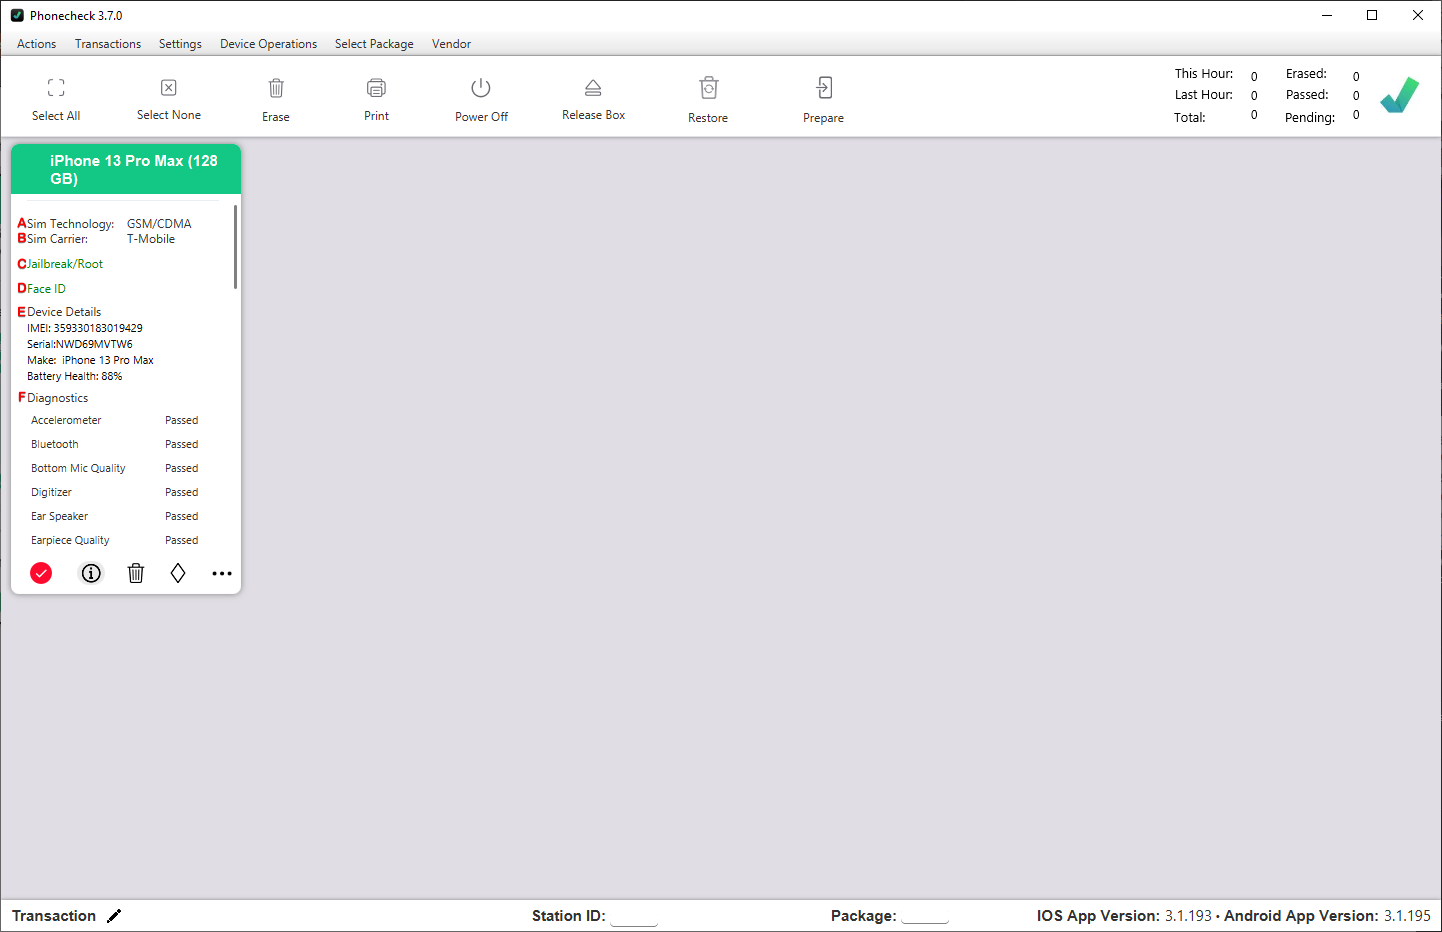
A - Sim Technology
B - Sim Carrier
C - Jailbreak/Rooted
D - Face ID/Touch ID
E - Device Details
F - Diagnostic Results
G - Device Initialization
